
Capturing your screen on an HP Envy laptop might seem simple, but not everyone knows the most effective ways to do it. Whether you’re saving an image, sharing an error message, or creating tutorials, knowing how to screenshot on an Envy laptop saves time and ensures accuracy. In this detailed guide, you’ll learn every method, insider tip, and common mistake to avoid when taking screenshots on your HP Envy device.
Understanding How Screenshots Work on HP Envy Laptops
Before diving into shortcuts, it’s important to understand how screenshots function on HP Envy laptops. Screenshots capture a visual copy of whatever appears on your display—whether that’s a single window, the entire screen, or a specific area. Depending on your needs, you can use built-in tools like the Print Screen key, Snipping Tool, or Snip & Sketch app.

The process may vary slightly depending on whether you use Windows 10 or Windows 11, but the core shortcuts remain consistent. These built-in options ensure you don’t need third-party apps unless you require advanced editing.
Different Ways To Screenshot On Envy Laptop
Using the Print Screen (PrtSc) Key
The easiest and most common method is the Print Screen key, labeled as “PrtSc” or “PrtScn” on your keyboard. Pressing this key captures your entire screen and saves it to your clipboard. You can then paste it into an image editor or document using Ctrl + V.
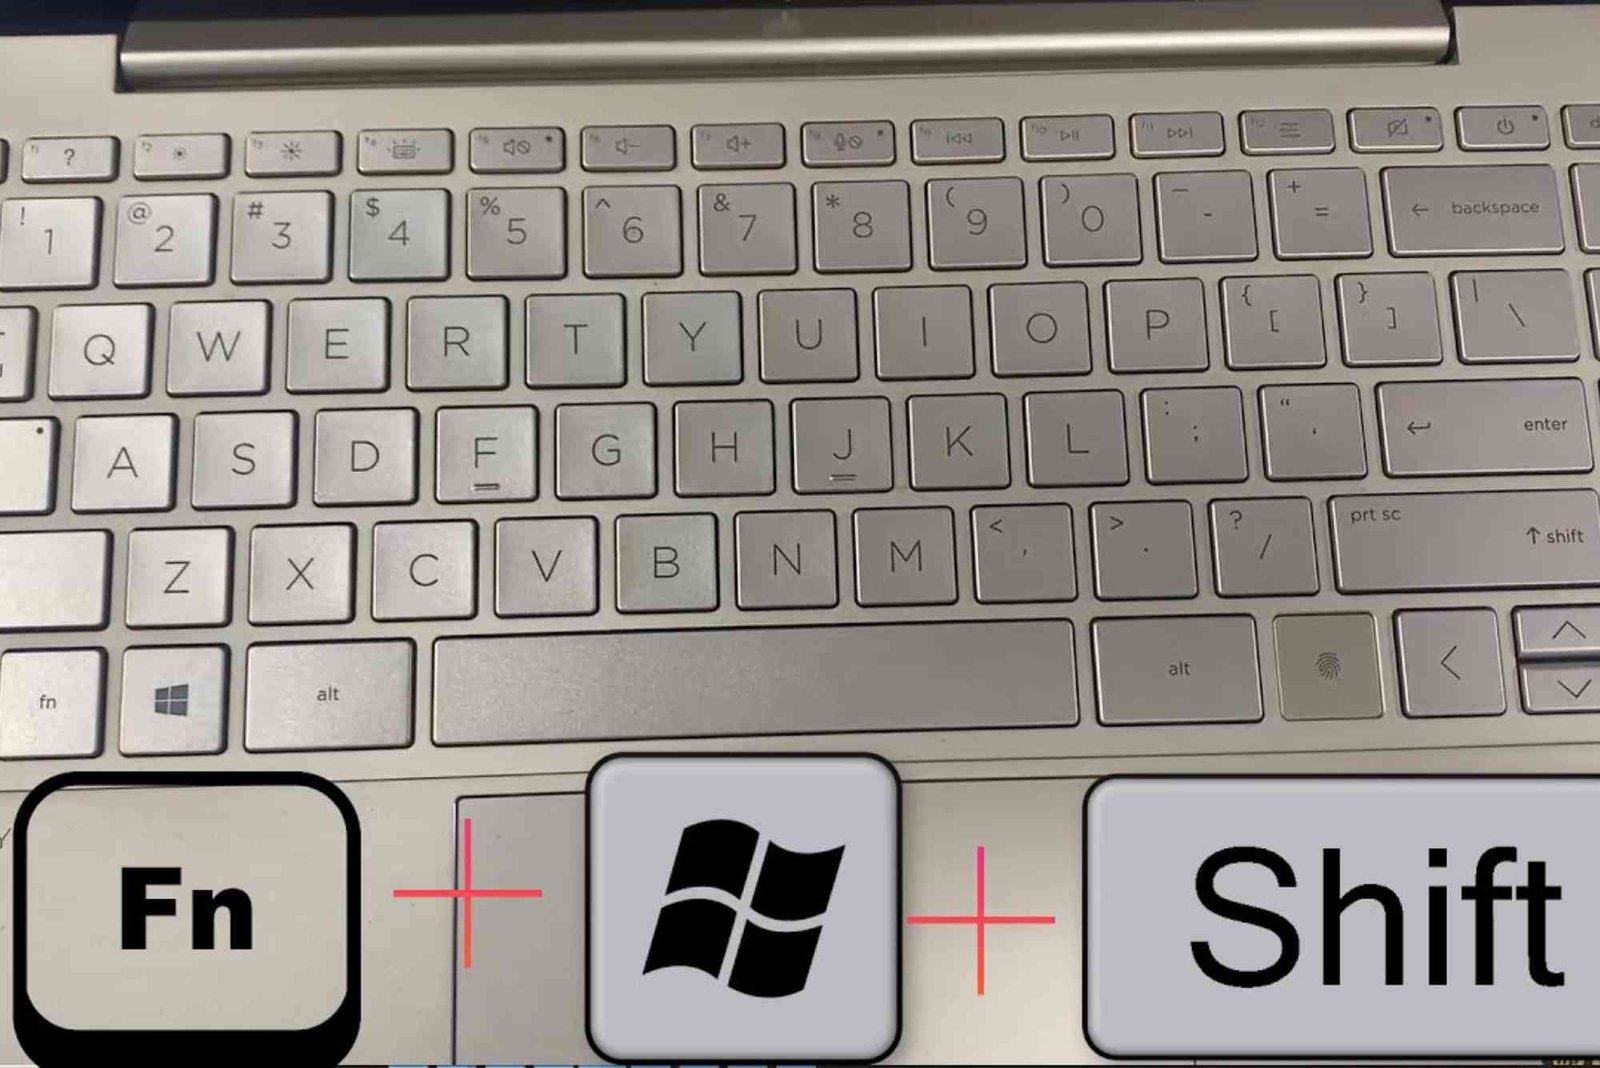
If you’re using Windows 10 or 11, you can also press Windows + PrtSc to automatically save the screenshot in your “Pictures > Screenshots” folder. This shortcut is ideal for quick and consistent captures.
Snip & Sketch (Windows 10/11 Built-In Tool)
For more control, the Snip & Sketch tool is an excellent option. Access it quickly with Windows + Shift + S. Once pressed, your screen dims slightly, and you can drag your cursor to capture a specific area. The image appears as a small preview in the bottom corner; click it to edit or annotate before saving.
This method is perfect when you only need part of the screen rather than the whole display.
The Snipping Tool
The Snipping Tool, a classic Windows utility, remains a user favorite. You can find it by searching for “Snipping Tool” in the Start menu. Once opened, click “New” to capture your screen. It allows for rectangular, free-form, window, or full-screen snips.
After taking a screenshot, you can highlight, erase, or save directly from the Snipping Tool interface. It’s simple yet powerful for anyone who wants quick edits.
Using Game Bar for Captures
If you’re a gamer or content creator, the Xbox Game Bar offers another effective method. Press Windows + G to open the Game Bar. Then click the camera icon or press Windows + Alt + PrtSc to take a screenshot.
While primarily for gaming, this tool can capture any screen and automatically saves the image to your “Videos > Captures” folder.
Tips for Taking Clear and Useful Screenshots
Taking screenshots is more than pressing keys; it’s about clarity and purpose. Make sure your screen is clean, relevant, and free from unnecessary icons or notifications before capturing. Resize or organize open windows if you want to present information clearly.
Use built-in editing tools to highlight key sections or blur sensitive data before sharing. If your goal is to create tutorials or presentations, consider consistent naming conventions and file organization for easy access later.
To learn more advanced techniques, check out this in-depth look at how to screenshot on Envy laptop which explores hidden features and creative methods professionals use.
Common Mistakes When Taking Screenshots
Even experienced users make mistakes. One common issue is pressing the wrong combination of keys, especially when switching between devices with different layouts. Always confirm that your screenshot shortcut matches your Windows version.
Another frequent mistake is forgetting to save the captured image. When using the Print Screen key alone, your screenshot only copies to the clipboard. If you close your app before pasting, you’ll lose it permanently.
Poor lighting or background clutter can also make screenshots hard to read. Before taking a capture, ensure your brightness and contrast settings are properly adjusted. Finally, avoid using low-resolution displays for presentations or publications where clarity matters.
When To Use Third-Party Tools
While Windows offers plenty of options, some users prefer third-party apps for advanced needs. Programs like Lightshot or Greenshot provide more editing features, cloud sharing, and annotation options. However, casual users rarely need these unless their work involves frequent documentation or technical tutorials.
Still, relying on default Windows tools ensures compatibility and fewer system conflicts. If you choose to install third-party software, ensure it’s from a reputable source to avoid malware or performance issues.
Troubleshooting Screenshot Issues
Sometimes, the Print Screen key may not respond, especially if your keyboard drivers are outdated or the shortcut has been disabled. Updating drivers via Windows Device Manager or checking keyboard settings in the control panel can solve this.
If the screenshot shortcuts don’t save automatically, confirm that your “Pictures” folder is set as the default screenshot location. You can also try using Snip & Sketch as an alternative until the issue is resolved.
Another fix involves checking OneDrive or Dropbox sync settings. These apps sometimes redirect screenshots to cloud folders, causing confusion when users can’t find their images locally.
FAQs: How To Screenshot On Envy Laptop
How do I take a screenshot on an HP Envy without the Print Screen button?
You can use Windows + Shift + S to activate Snip & Sketch and capture part of your screen.
Where are my screenshots saved on HP Envy?
By default, screenshots are stored in the “Pictures > Screenshots” folder. You can also paste them into Paint or Word manually.
Can I edit screenshots after capturing them?
Yes. Use Snip & Sketch or Paint to crop, annotate, or highlight key areas before saving or sharing.
Why isn’t my screenshot saving automatically?
It may be a permissions issue or folder redirection. Check your “Pictures” directory and ensure automatic saving is enabled.
Is there a difference between Snip & Sketch and Snipping Tool?
Snip & Sketch is newer, with better integration and faster access through shortcuts, while Snipping Tool remains a reliable classic.
Advanced Tips for Efficiency
If you regularly take screenshots, create a workflow that includes naming conventions like “ProjectName_Date_StepNumber.” It helps you stay organized and improves efficiency. Use keyboard shortcuts frequently until they become second nature.
Additionally, take advantage of Windows’ clipboard history (enabled via Windows + V) to access previously copied screenshots quickly. This small feature can save valuable time when working on multiple documents or tutorials.
Avoiding Overcomplication
Many users overcomplicate the screenshot process by installing unnecessary tools or forgetting basic keyboard functions. Remember, the simplest built-in methods are often the most reliable. Keep your workflow light, consistent, and free from clutter.
Why Screenshot Skills Matter
In professional environments, clear screenshots enhance reports, presentations, and support documentation. In personal use, they simplify sharing issues or interesting finds. Knowing how to screenshot on your Envy laptop effectively adds to your overall tech literacy — an essential skill in today’s digital world.
For more helpful articles about technology, you can explore our tech basics section, where we explain complex digital topics in simple, actionable ways.
Mastering how to screenshot on an Envy laptop doesn’t require advanced technical skills — just the right shortcuts, tools, and habits. From using Print Screen to Snip & Sketch, you now know every reliable method. Avoid the common pitfalls, stay organized, and optimize your workflow for clarity and speed.
If you found this guide helpful, consider sharing it with friends or colleagues who might benefit from these practical tips. For professional collaborations, check out our editorial partner for more curated tech insights and partnerships.