
Introduction
Washing machines are essential appliances in every household, but over time, they can develop mechanical issues that affect performance. One common problem is worn or broken suspension rods. These rods play a crucial role in stabilizing your machine during the spin cycle, preventing excessive vibrations, and ensuring a smooth washing experience. Ignoring suspension rod problems can lead to further damage, including drum misalignment or even motor strain. In this guide, we’ll show you how to repair washing machine suspension rods step by step, helping you extend your appliance’s life while maintaining optimal performance. For more detailed insights, you can learn more about how to repair washing machine suspension rods.
Understanding Washing Machine Suspension Rods
Suspension rods are key components in top-loading washing machines, especially in models with a pulsator or agitator system. Typically made from metal with a rubber or plastic damping element, these rods connect the washing drum to the machine’s frame. Their primary function is to absorb vibrations during the spin cycle and keep the drum balanced. Over time, wear and tear, rust, or heavy loads can weaken these rods, causing unusual noises, shaking, or even drum instability. Knowing the signs of worn suspension rods is the first step in repair.
Common Signs of Suspension Rod Damage
Several indicators point to suspension rod issues. If your washing machine shakes excessively, makes clunking sounds, or the drum feels loose when manually moved, the rods may need attention. Uneven washing results or machine movement during operation are also red flags. By recognizing these symptoms early, you can avoid more costly repairs like motor damage or frame misalignment.
Tools You’ll Need for Repair
Before starting, gather essential tools to ensure the repair goes smoothly. You’ll need a socket wrench set, pliers, a screwdriver set, replacement suspension rods compatible with your model, and possibly gloves to protect your hands. Having a towel or small bucket on hand can help catch any residual water if the drum needs partial removal. Preparing your workspace with proper lighting and enough room to access the washing machine from multiple angles is also crucial.
Step-By-Step Guide to Repair Suspension Rods
Repairing suspension rods involves careful handling of the drum and frame. Follow each step to ensure a safe and effective process.
Disconnect and Prepare the Machine
Start by unplugging the washing machine from the power supply. Turn off the water supply and disconnect hoses to prevent leaks. Move the machine to an open area where you can work comfortably. Protect the floor with a towel or mat to prevent scratches. Safety is essential during this step to avoid electric shocks or water damage.
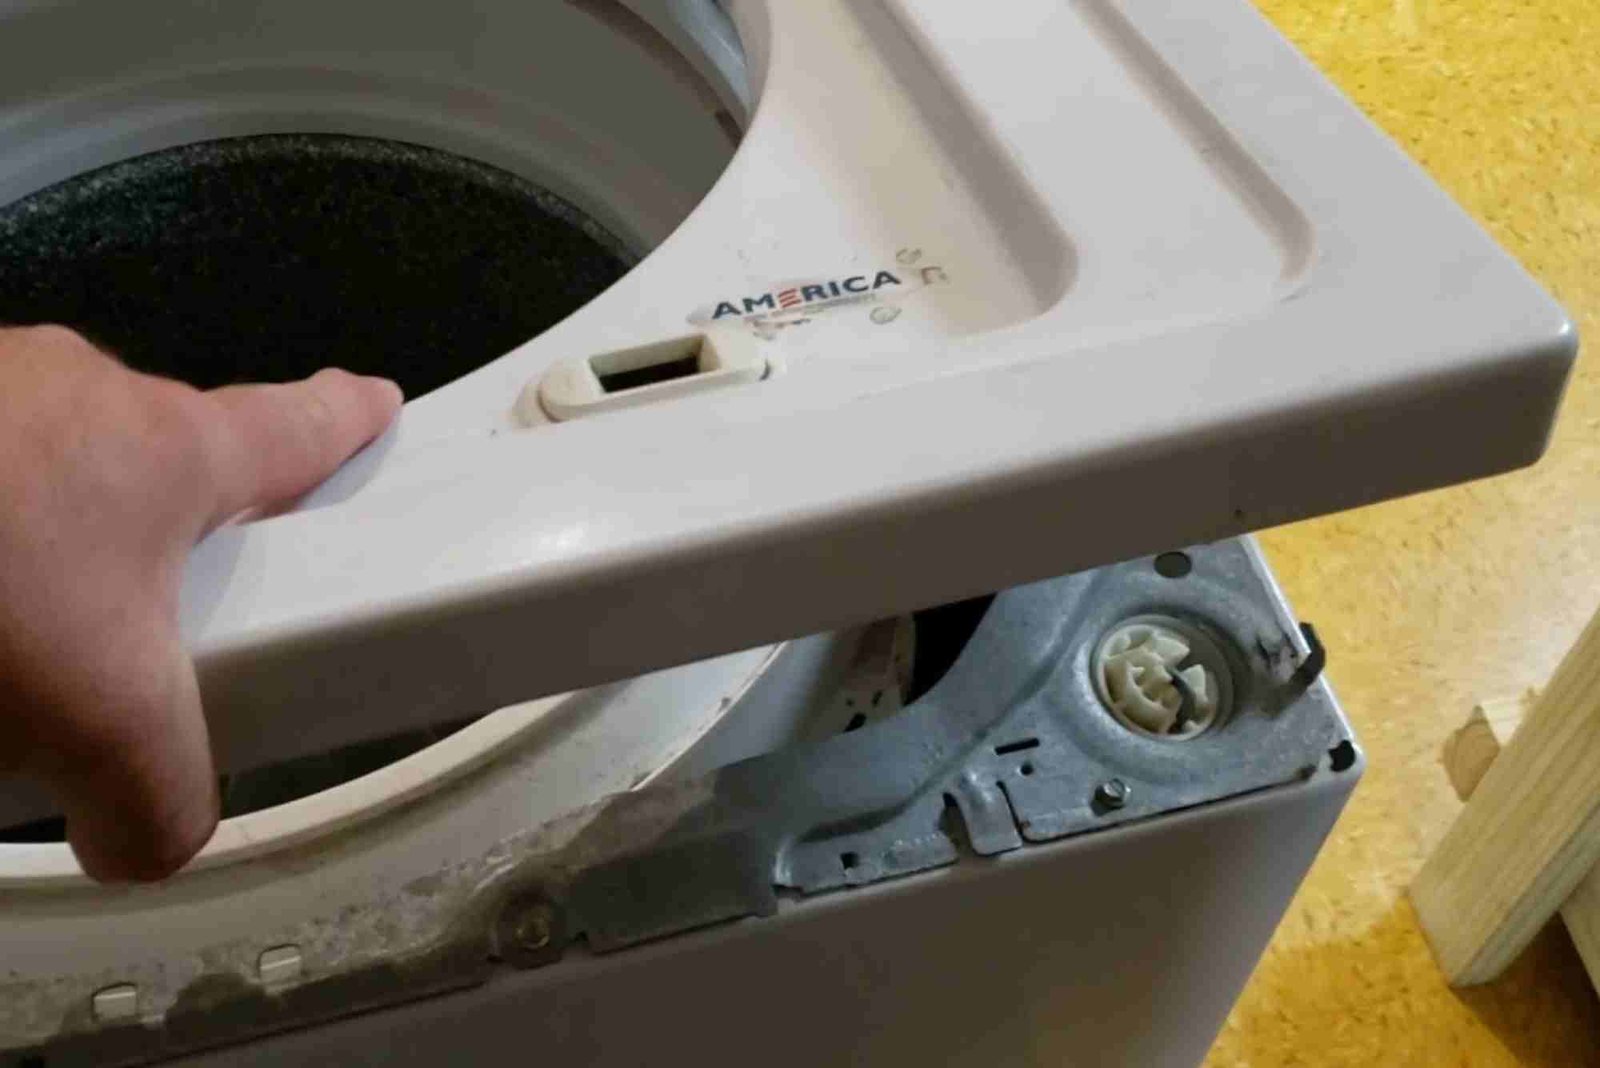
Access the Suspension Rods
Depending on your washing machine model, access may require removing the top panel or the front panel. Use a screwdriver to carefully unscrew the panels, keeping the screws in a small container. Once the panel is removed, locate the suspension rods connecting the drum to the frame. Typically, a standard top-loader has four rods, while some models may have fewer. Note their positioning to ensure proper reinstallation.
Inspect the Rods
Examine each suspension rod for wear, rust, or breakage. The rubber ends may crack or detach over time, and the metal part can bend under excessive force. If rods appear damaged, replacement is recommended rather than attempting to bend or repair them. This prevents recurring issues and ensures the washing machine functions properly.
Remove Damaged Rods
To remove a faulty suspension rod, gently push it out from its mounting point. Use pliers if necessary, but avoid applying excessive force that could damage the drum or frame. Keep track of any washers or clips that secure the rods, as they will be needed for reinstallation. Some models may require lifting the drum slightly to release tension from the rod, so proceed cautiously.
Install New Suspension Rods
Take the replacement rods and align them with the mounting points. Push or click them into place, ensuring the rubber ends are seated securely. Reattach any washers, clips, or bolts to maintain stability. Check each rod individually by pressing on the drum gently to confirm that they absorb movement as expected. Proper installation is crucial for balanced spinning and minimal vibrations.
Reassemble and Test
After installing the new rods, carefully reattach the washing machine panels. Reconnect hoses and plug in the appliance. Fill the drum with water and run a short cycle to test performance. Listen for unusual noises and observe the drum’s movement. A properly repaired machine should operate smoothly without shaking or excessive vibration.
Preventive Tips
To extend the life of suspension rods, avoid overloading the washing machine. Use the correct detergent and maintain a balanced load during each wash. Periodically inspect the rods for early signs of wear. Regular maintenance helps prevent rod failure and keeps your washing machine running efficiently. You can also explore home & decoration basics for household tips that improve appliance longevity.
Troubleshooting Common Issues
Even after replacement, some problems may persist. Understanding potential causes can help you address them quickly.
Uneven Drum Movement
If the drum continues to wobble, ensure that all rods are seated properly and none are bent. Double-check mounting clips or bolts and confirm the washing machine is level on the floor.
Excessive Noise During Spin
Noise may indicate that rods are mismatched, or the drum has residual imbalance. Try redistributing clothes evenly in the drum. In rare cases, other components like the drive belt or shock absorbers may need inspection.
Water Leaks
Leaks often result from improper hose reconnection or misaligned drum seals after panel removal. Verify all hose clamps are tight and seals are correctly positioned. Regular maintenance prevents leakage and rod strain simultaneously.
Repairing washing machine suspension rods is a manageable task for anyone with basic mechanical skills and proper tools. By following this step-by-step guide, you can restore stability, reduce vibration, and extend the lifespan of your appliance. Regular inspection and preventive care ensure long-term performance and fewer unexpected repairs. Take action today to maintain a smooth and efficient laundry routine. For additional guidance, you can learn more about how to repair washing machine suspension rods.
FAQs
How do I know if my washing machine suspension rods are broken?
Common signs include excessive vibration, loud clunking noises, drum instability, and uneven washing results. A visual inspection can confirm rod damage.
Can I replace suspension rods myself?
Yes, with basic tools and safety precautions, replacing suspension rods is a DIY task. Ensure you follow a step-by-step guide and use compatible replacement rods.
What causes suspension rods to wear out?
Overloading the drum, rust, heavy use, and age contribute to rod wear. Regular maintenance can prolong their lifespan.
Are suspension rods expensive to replace?
Replacement rods are generally affordable, but costs vary by brand and model. Investing in quality rods ensures better performance and longevity.
How often should I inspect my washing machine rods?
A visual inspection every six months or whenever unusual vibration occurs is recommended. Early detection prevents major damage.
Where can I find washing machine repair resources?
You can explore reliable guides and tutorials on home design references and DIY maintenance blogs for expert advice.