
Introduction
Understanding how your muscles work through different phases of movement can transform your strength training results. One of the most fascinating concepts in exercise science is the strength curve, especially when it comes to isolating and developing your biceps. This article explains which strength curve most accurately represents a biceps curl, with a detailed checklist and expert insights to help you train more efficiently.
Understanding the Strength Curve
The strength curve describes how much force a muscle can produce at different points during a movement. It explains why some exercises feel harder at specific angles and easier at others. By mastering this, you can optimize resistance, muscle activation, and progress.
There are three main types of strength curves:
-
Ascending Strength Curve: Strength increases as you move through the range of motion.
-
Descending Strength Curve: Strength decreases as you move through the range of motion.
-
Bell-Shaped (Mid-Range) Strength Curve: Strength is highest in the middle of the range of motion.
When analyzing the biceps curl, it’s crucial to identify which curve accurately reflects the muscle’s strength output throughout the movement.
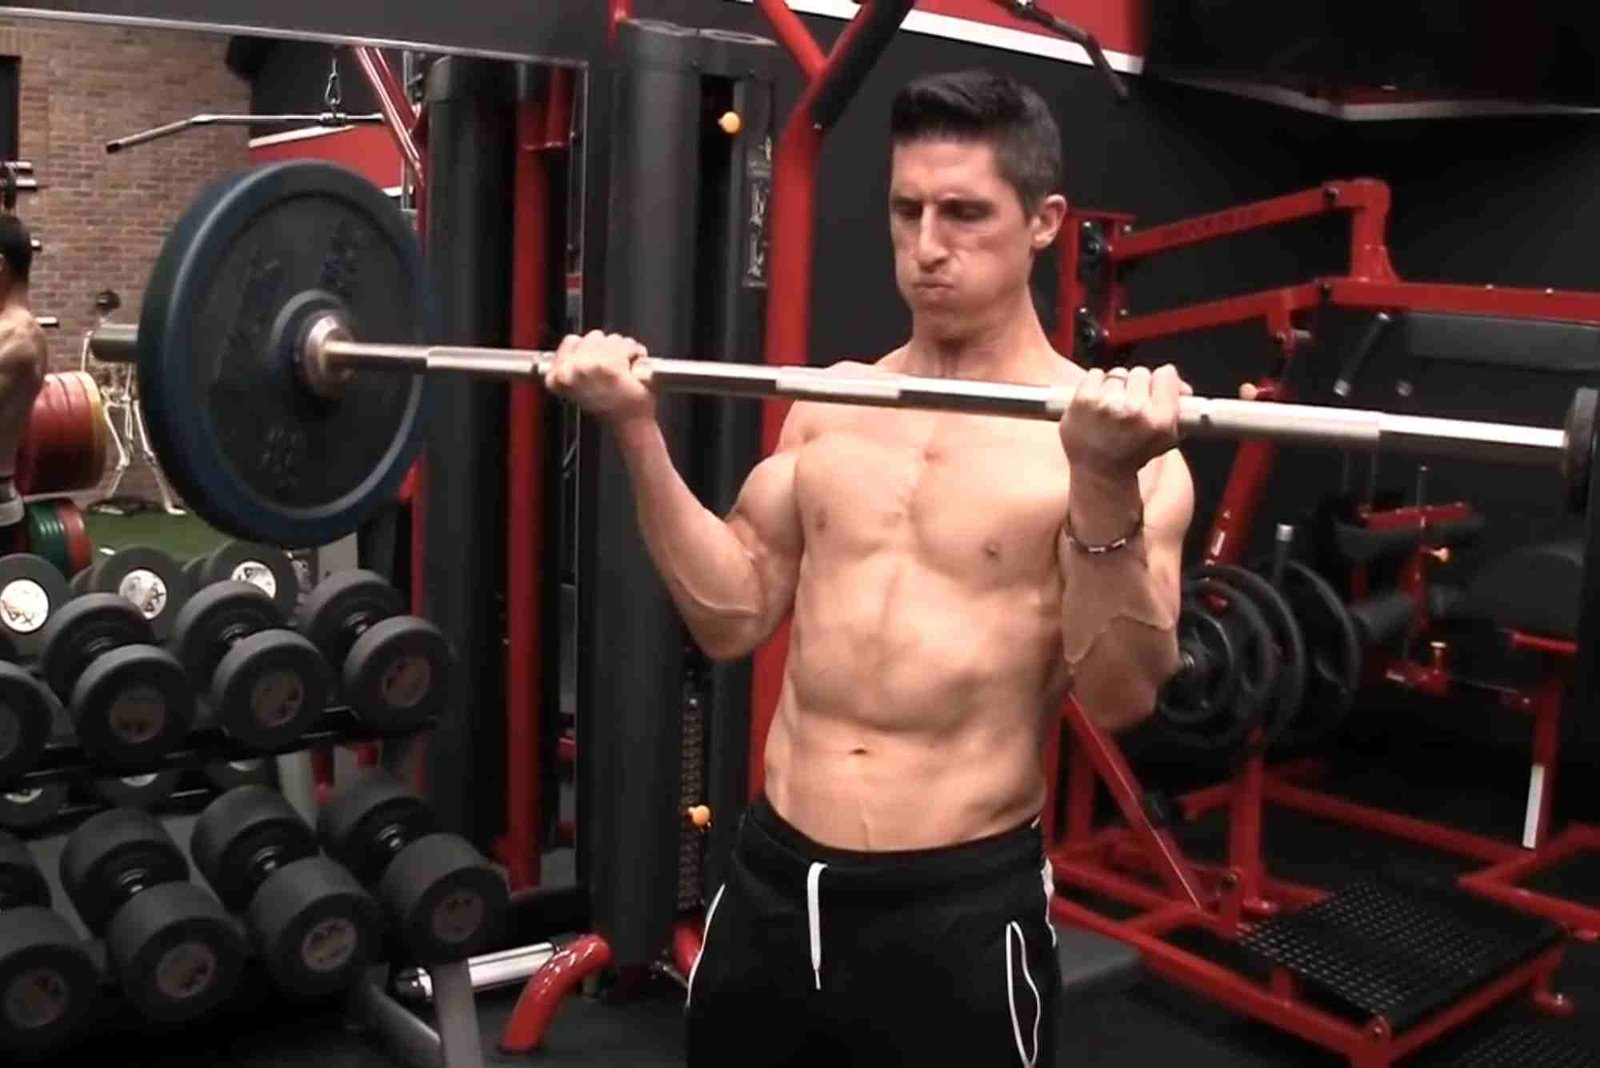
Which Strength Curve Represents a Biceps Curl?
The biceps curl follows a bell-shaped (mid-range) strength curve. This means your biceps are weakest at the beginning and end of the curl but strongest in the middle. At the midpoint—where your forearm forms roughly a 90-degree angle with your upper arm—your biceps generate maximum force.
Understanding this pattern is essential for adjusting training variables like load, speed, and range of motion.
You can learn more about which strength curve most accurately represents a biceps curl exercise for in-depth visuals and biomechanical details.
Checklist to Analyze Your Biceps Curl Strength Curve
Optimizing your biceps curl based on the strength curve isn’t complicated when broken down step by step. Here’s how to apply it effectively:
Warm Up and Mobilize
Start with light cardio for 5–10 minutes, then perform dynamic stretches targeting your shoulders, elbows, and forearms. Proper preparation enhances range of motion and reduces injury risk. You can also review the exercise safety guidelines to ensure your warm-up is effective and safe.
Choose the Right Equipment
The equipment you use influences the strength curve significantly.
-
Free Weights (Dumbbells or Barbells): Follow the natural bell-shaped curve. Resistance peaks mid-range.
-
Cables: Allow constant tension throughout the curl, slightly flattening the curve.
-
Resistance Bands: Reverse the curve—tension increases as you reach the top.
Choose tools that align with your training goals and muscle engagement preferences.
Analyze Muscle Engagement Through the Range of Motion
Perform slow, controlled reps. Notice where the movement feels hardest.
-
The beginning (arm fully extended): limited leverage, minimal tension.
-
The midpoint (arm at 90°): maximal contraction and tension.
-
The top (arm near shoulder): reduced tension due to leverage.
Tracking this helps confirm that your strength peaks mid-range, aligning with the bell-shaped curve.
Adjust Resistance According to the Curve
To maintain consistent muscle activation:
-
Free Weights: Focus on control and tempo.
-
Cables or Bands: Adjust angles or anchor points to match your natural force curve.
-
Machines: Many modern gym machines mimic variable resistance to follow the strength curve closely.
Matching resistance to your muscle’s natural ability improves effectiveness and reduces strain.
Focus on Eccentric Control
During the lowering phase, your biceps can handle more load. Slow, controlled eccentrics extend time under tension, enhancing growth. Apply this principle to complement the mid-range strength curve by maximizing stress during the strongest part of the movement.
Track Progress and Refine Technique
Keep a training log of weights, reps, and perceived exertion. Evaluate progress every few weeks. Small adjustments in grip, elbow positioning, or tempo can dramatically improve strength curve alignment and muscle development.
The Science Behind the Biceps Strength Curve
When you flex your arm during a biceps curl, leverage and muscle length change constantly. This interaction between moment arms, joint angles, and muscle tension determines the bell-shaped curve.
At mid-range, your biceps are neither overly stretched nor fully shortened—allowing optimal force production. This principle is why most people feel the curl’s greatest challenge halfway up.
By contrast, at the start and end points, leverage reduces efficiency. This explains why partial reps in these ranges are often easier.
Optimizing Your Biceps Curl for Maximum Gains
Understanding which strength curve represents the biceps curl allows you to train smarter, not harder. Try these methods to make every rep count:
-
Use variable resistance tools (like cables or bands) to maintain tension.
-
Incorporate isometric holds at the midpoint to target peak strength.
-
Train through different angles using preacher curls or incline curls to challenge the muscle along various points of the curve.
-
Maintain strict form—avoid swinging, which disrupts consistent tension.
Applying this knowledge helps you achieve a balanced approach that supports growth, endurance, and longevity.
Common Mistakes When Training According to the Strength Curve
Even seasoned lifters make mistakes that can hinder results. Avoid these pitfalls:
-
Neglecting range of motion: Cutting reps short prevents proper curve engagement.
-
Using excessive momentum: Reduces tension where it’s needed most.
-
Ignoring individual biomechanics: Arm length and muscle insertion points affect your personal curve.
-
Skipping warm-ups: Tight joints or cold muscles distort force output.
Mastering these details creates a safer, more effective biceps workout. If you’re new to resistance training, review sports & fitness basics before progressing to advanced methods.
FAQs
Why does the biceps curl have a bell-shaped strength curve?
Because the biceps produce the most force when neither fully extended nor fully contracted—typically at a 90° elbow angle.
How can I make the resistance more consistent during a curl?
Use cable machines or resistance bands to maintain tension throughout the range of motion.
Do preacher curls follow the same strength curve?
They follow a slightly modified curve since they start with the muscle pre-stretched, emphasizing the lower range.
How can beginners apply strength curve concepts?
Start by observing where your muscles feel the most tension and adjust tempo or resistance accordingly. Gradual awareness leads to better form and results.
Is there a difference between dumbbell and barbell curls?
Yes. Dumbbells allow independent arm movement, revealing imbalances. Barbells distribute load evenly but limit range freedom.
Can training the strength curve prevent injuries?
Absolutely. Understanding force variations reduces strain at weak points and promotes joint health.
Knowing which strength curve most accurately represents a biceps curl empowers you to design workouts that respect your body’s natural biomechanics. The bell-shaped curve demonstrates why mid-range control, proper resistance selection, and movement precision matter more than sheer weight.
If you’re serious about optimizing your biceps training, start by evaluating your form and adjusting resistance patterns accordingly. Consistency, awareness, and smart progression lead to long-term strength and muscle gains.