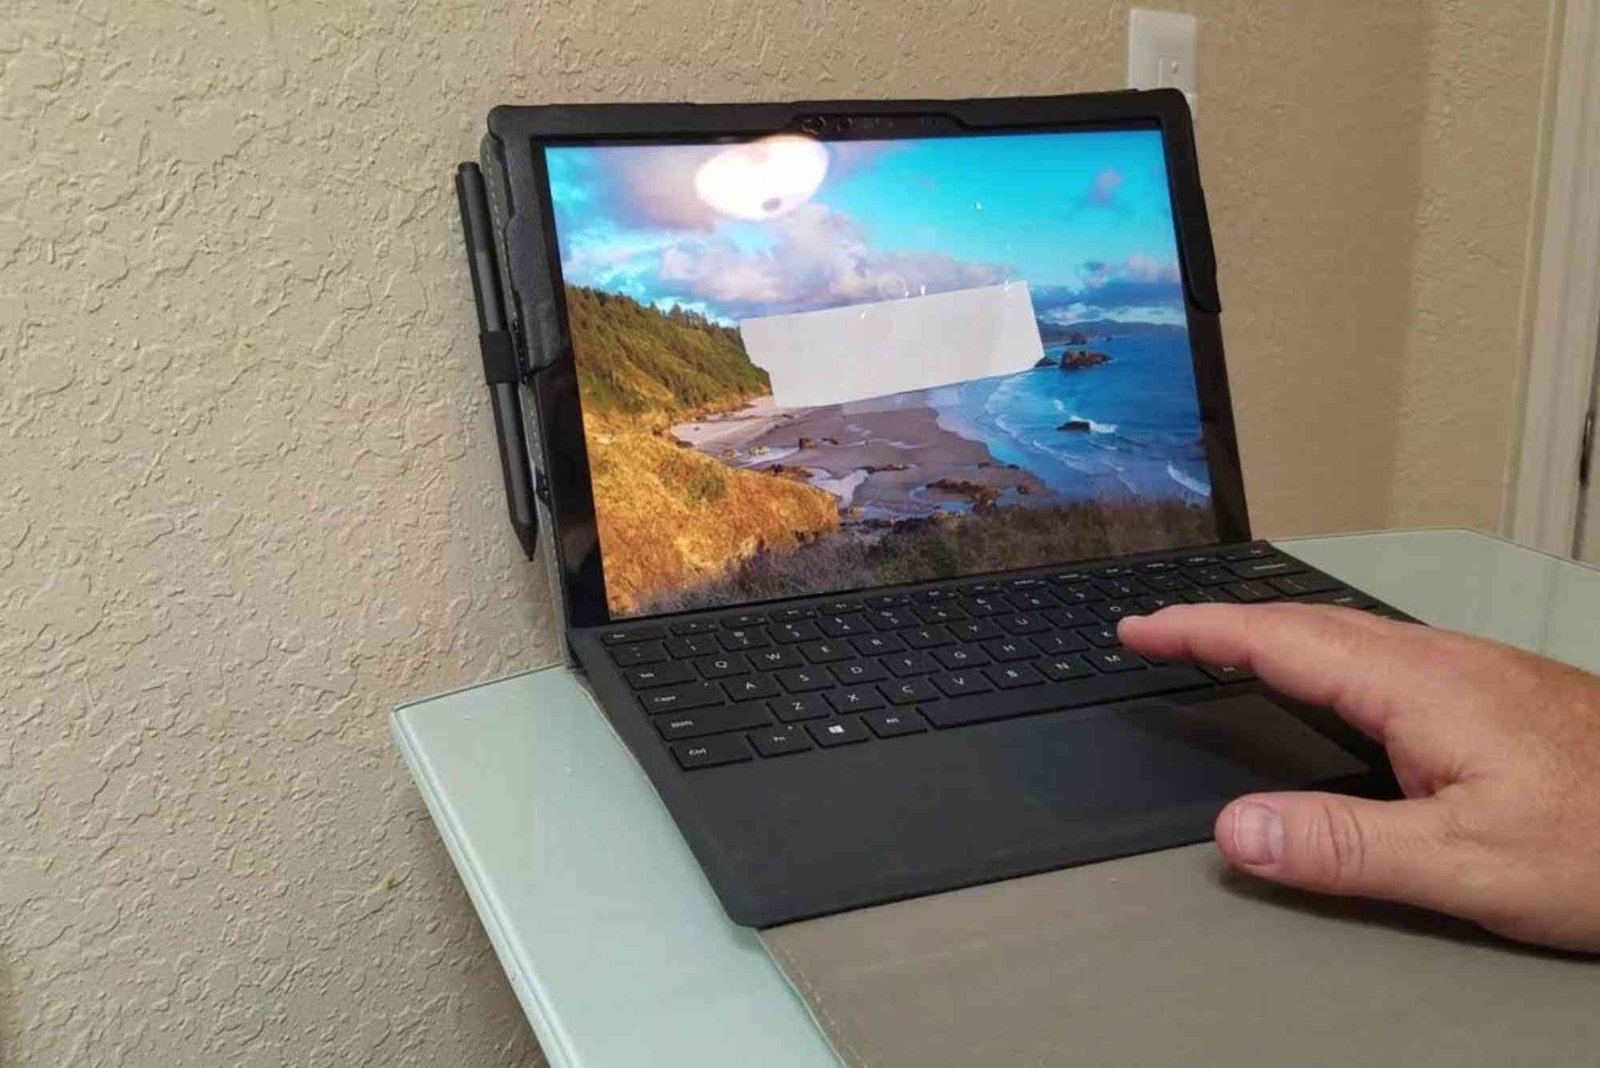
When your Microsoft Surface Laptop starts acting up—freezing, slowing down, or facing software errors—it might be time for a reset. Understanding how to reset Surface Laptop properly is crucial, especially if you want to protect your data and ensure the reset process goes smoothly. Whether you own a Surface Laptop 3, 4, or the latest model, the process remains quite similar. In this guide, we’ll explore expert tips, common mistakes to avoid, and how to get your Surface running like new again.
Understanding Why You Might Need to Reset Your Surface Laptop
Resetting your Surface Laptop can resolve many issues. Over time, software conflicts, corrupted files, or updates gone wrong can cause system slowdowns or crashes. A proper reset helps eliminate these problems by reinstalling Windows and restoring the laptop to its default state. This process can also be helpful before selling or giving away your device, ensuring all personal data is removed safely.
Resetting isn’t always the first step, though. You might try troubleshooting tools like Windows’ built-in recovery options or system restore points before proceeding. However, when those fail, knowing exactly how to reset Surface Laptop becomes your best solution.
How To Reset Surface Laptop Step by Step
Resetting your Surface Laptop can be done in a few simple steps. The key is choosing the right reset method—keeping your files or removing everything completely. Here’s what you need to know before you begin.
Using Windows Settings
The easiest way to reset your Surface Laptop is through the Windows Settings menu. Navigate to “Start,” then select “Settings,” followed by “System,” and finally “Recovery.” You’ll see the option “Reset this PC.” When you click it, Windows gives you two choices: “Keep my files” or “Remove everything.”
Choosing “Keep my files” will remove apps and settings but preserve your personal data, while “Remove everything” wipes all content, offering a completely fresh start. It’s crucial to back up your important files to OneDrive or an external drive before choosing the second option.
Resetting with a Recovery Drive
If your laptop won’t boot properly, you can use a USB recovery drive. This option reinstalls Windows from scratch. You can create the drive on another working PC using Microsoft’s Media Creation Tool. Once inserted into the Surface Laptop, restart and boot from the USB by holding down the Volume Down button and pressing the Power button.
This process reinstalls Windows and resets all system files. It’s a deeper reset and often fixes serious software or startup problems.
Resetting via Surface UEFI
Some Surface models allow resets directly from UEFI (Unified Extensible Firmware Interface). Accessing it involves holding the Volume Up button while pressing Power. Inside UEFI, you can modify startup configurations or initiate a recovery sequence if your system won’t load normally.
Important Tips Before You Reset
Before performing a full reset, always take a few precautionary steps. First, back up all essential data—documents, photos, and saved passwords—to avoid losing anything important. If you use Microsoft 365, verify your OneDrive synchronization to ensure your files are backed up online.
Charge your Surface Laptop to at least 50% before starting, as a power interruption during reset could cause system corruption. Make sure you’re connected to a stable Wi-Fi network for any updates that might follow.
If you’ve installed third-party antivirus or VPN software, uninstall them beforehand. Some of these tools can interfere with Windows reset processes, leading to incomplete reinstalls or error messages.
Common Mistakes Users Make When Resetting Surface Laptops
Many users make small yet costly mistakes when resetting their devices. One common issue is neglecting to back up data properly. Even if you select “Keep my files,” some apps and saved settings can still be lost.
Another mistake is failing to sign out of your Microsoft account before resetting. When you forget this step, your device might remain linked to your account, complicating future logins or ownership transfers.
Users also sometimes skip driver updates after resetting. Remember that once Windows reinstalls, certain device drivers—especially for Surface Pen, Touch, or Camera—might need manual updates. Visiting Microsoft’s support page post-reset ensures your laptop runs smoothly.
Lastly, never interrupt the reset process. Shutting down the laptop or disconnecting power mid-reset could lead to startup errors that require a full reinstall.
Troubleshooting After Reset
After resetting, it’s normal for your Surface Laptop to take some time setting up Windows. If you notice slow performance initially, allow updates to complete. Should you face Wi-Fi or touchpad issues, visit “Device Manager” and update all drivers.
If the laptop doesn’t boot correctly after reset, boot into recovery mode again and perform another reset using a USB drive. In rare cases, a corrupted recovery partition can cause reset failures, but using Microsoft’s recovery image usually fixes this.
Once everything runs smoothly, reinstall essential software gradually, checking that performance remains consistent. Avoid reinstalling apps known to cause system instability.
When to Seek Professional Help
While resetting is straightforward, certain situations may require professional assistance. If your Surface Laptop fails to boot, displays repeated blue screens, or gets stuck during reset, contacting an authorized Microsoft service center might be the best move. They can diagnose hardware-related issues that a simple reset won’t fix.
Additionally, if your laptop contains sensitive data or you’re preparing it for resale, a technician can ensure your reset meets data security standards.
Maintaining Your Surface Laptop Post-Reset
Once your Surface Laptop is reset and working properly, regular maintenance can help avoid future issues. Keep Windows updated and allow automatic updates for drivers. Use Windows Security for real-time protection and clean your system files periodically to prevent clutter.
Avoid overloading the startup folder with unnecessary apps, as this slows down boot time. For optimal performance, restart your laptop at least once a week. This allows updates and background processes to refresh properly.
You can explore more practical advice and tutorials in this in-depth look at how to reset Surface Laptop and discover similar topics in the tech basics section for everyday device management.
FAQs About Resetting a Surface Laptop
How long does it take to reset a Surface Laptop?
The process usually takes between 30 minutes and 2 hours, depending on your storage size and chosen reset option.
Will resetting my Surface Laptop delete everything?
Yes, if you select “Remove everything,” all files, apps, and settings will be erased. The “Keep my files” option only removes apps and settings.
Can I reset my Surface Laptop without a password?
Yes, you can reset it from the sign-in screen. Select the power icon, then hold Shift while clicking “Restart.” Choose “Troubleshoot” and follow reset options.
What should I do if the reset fails?
If a reset fails, use a USB recovery drive or download Microsoft’s Surface recovery image to perform a manual reinstall of Windows.
Do I need an internet connection to reset my Surface Laptop?
Not always. You can reset offline, but an internet connection helps reinstall updates and drivers afterward.
Knowing how to reset Surface Laptop properly helps you restore performance, fix persistent issues, and extend your device’s life. By following the correct steps, avoiding common mistakes, and preparing adequately, you can perform a successful reset without frustration.
If you’d like to explore more about Microsoft devices, visit our editorial partner for technology insights and updates. And remember, regular maintenance after reset keeps your Surface Laptop running smoothly for years to come.


